The most common cause of a dehumidifying dryer underperforming is the return air filter, not the desiccant. A loaded filter raises the pressure drop across the rotor, the regeneration cycle no longer finishes inside its window, and the dew point drifts up gradually until the dryer is failing. The rotor is usually fine and the plant replaces it anyway.
Read the dew point as a trend rather than as a reading. A single number tells you little; a week’s worth of readings tells you whether the rotor is ageing, the filter is loading, or the insulation has started to leak. That is the difference between a service visit and a guess.
The routine, and what each check is for
- Daily: filter window, dew point, heater temperatures — catches a loaded filter and early rotor degradation.
- Weekly: dew point trend, conveying lines, insulation — catches build-up and heat loss.
- Monthly: rotor service, blower and feed system, stainless surfaces — desiccant wear and contamination paths.
- Quarterly: dew point, moisture results and energy read together — separates a fouled filter from an ageing rotor.
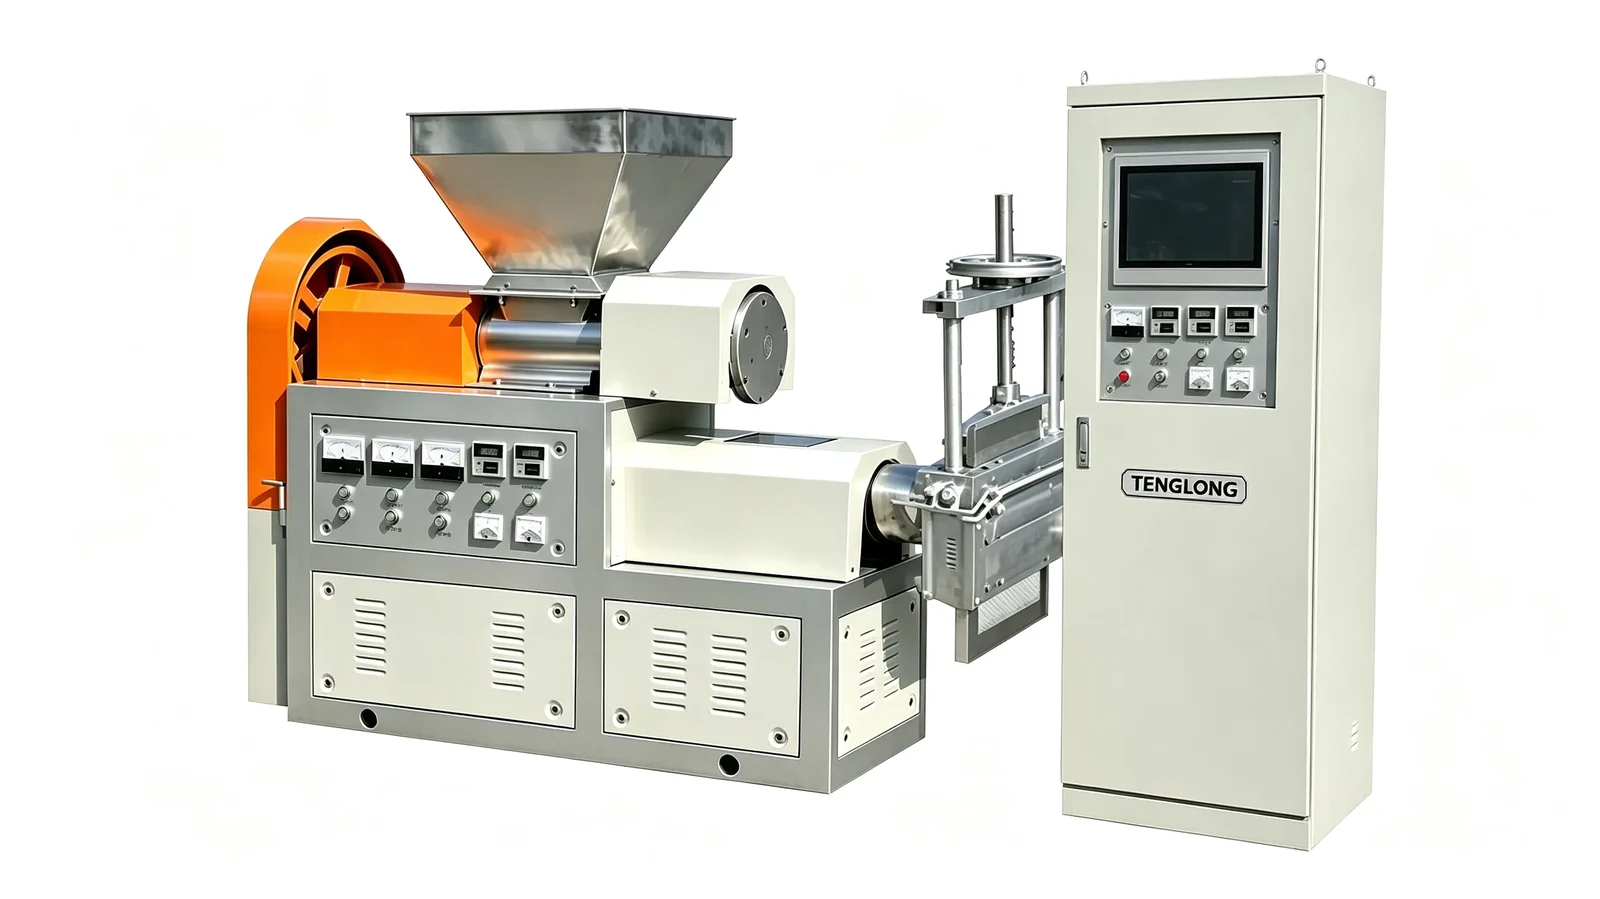
The three things that fail, in order of frequency
A dehumidifying dryer has few moving parts, which is why it is reliable. It also has three consumable or wear elements, and they fail in a predictable order.
The return air filter is first. A high-density return air filter is fitted to prevent contamination in the conveying, and a transparent filter window is provided so its condition can be monitored. As it loads, it restricts the circuit, the drying time extends, and the material at the bottom of the hopper dries more slowly. The symptom is a gradual rise in the moisture of the dried material while the machine looks perfectly normal.
The desiccant rotor is second. The honeycomb rotor absorbs moisture in the drying zone and is regenerated by heated air in a separate zone. Its capacity is finite: as the rotor ages, the dew point it can hold drifts upward. This is a slow failure that shows up as material that is consistently slightly wetter than it should be.
The seals are third. A leaking seal on the rotor housing lets moist room air into the closed loop, and the machine fights a leak it cannot win. It is also the failure that is easiest to spot, because the machine works harder and sounds different.
Reading the dew point, and knowing when to act

The dew point reading is the instrument that turns this from a scheduled maintenance item into a condition-based one.
The published capability is a dew point below −40 °C under ideal conditions and up to −45 °C on the better units. So the working reference is not the best-ever figure on the specification sheet but the figure the machine produced when it was new and the material was drying correctly.
Record that baseline at commissioning, and treat it as the trigger point. A dew point that has risen by a few degrees from its new-machine value is telling you the rotor is losing capacity, long before the material fails a moisture check.
Without a dew point instrument, the only alternative is to measure the moisture of the material coming out, by Karl Fischer or a halogen meter. That works, but it is a laboratory measurement hours after the material that failed has already moved through the line. If you have no dew point instrument, you should at least sample the output regularly rather than relying on a maintenance calendar.
A maintenance routine that scales with the material
The schedule should follow the material, because the wear rate does.
Daily: look at the transparent filter window and clean or change the filter when it is visibly loaded. Check the dew point against the commissioning baseline. Check the temperature on the drying heater and the regeneration heater.
Weekly: check the desiccant rotor condition through the dew point trend, and check the conveying lines and the material pipe for build-up. Verify that the insulation is intact — the published feature list is explicit about fully insulated drying bins, and the insulation is what makes the dew point meaningful at the bottom of the hopper.
Monthly: service the desiccant rotor as its condition requires, and check the blower and the feed system. On machines handling optical or food-standard material, check the dust-free mirror-finish stainless surfaces.
Quarterly: review the dew point trend, the material moisture results and the energy consumption together. A slow rise in energy per kilogram alongside a rising dew point is the signature of a fouled filter; a rising dew point with flat energy is a rotor losing capacity.
The distinction matters because the two have different remedies and similar symptoms. A single moisture measurement cannot tell them apart; the trend can.
What the dryer is protecting, and why it is worth the routine
It is worth being clear about the value at stake, because a dryer often looks like an expensive box for a small step in the process.
PET loses 0.01 dl/g of intrinsic viscosity per 100 ppm of moisture. PA below 0.1% develops bubbles and weak pellets. Engineering grades develop splay and lose mechanical properties. None of these failures is visible at the dryer; all of them are visible at the customer, months later, and by then they look like a quality problem with the extruder rather than with the dryer.
That asymmetry is the argument for the routine. The dryer is the cheapest place in the whole plant to catch a moisture problem, because the signal is immediate and the diagnosis is unambiguous. Every stage downstream loses that advantage.
Dehumidifying dryer maintenance schedule
The routine, by interval, with the failure each check is designed to catch before it catches you.
| Interval | Check | What it catches |
|---|---|---|
| Daily | Filter window, dew point, heater temperatures | Loaded return filter, early rotor degradation |
| Weekly | Dew point trend, conveying lines, insulation | Rotor capacity loss, build-up, heat loss |
| Monthly | Rotor service, blower and feed system, stainless surfaces | Desiccant wear, contamination paths |
| Quarterly | Dew point, moisture results and energy together | Distinguishes a fouled filter from an ageing rotor |
What buyers ask us before they order
Q1: How do I know when the desiccant rotor needs replacing?
From the dew point trend against the baseline recorded at commissioning. A rotor that has lost capacity shows a dew point that has risen a few degrees from its new-machine value, long before the material fails a moisture check. Without a dew point instrument, the fallback is regular Karl Fischer or halogen meter sampling of the output.
Q2: What is the most common cause of a dryer underperforming?
A loaded return air filter. It restricts the circuit, the drying time extends, and the material at the bottom of the hopper dries more slowly while the machine looks normal. That is why the published machines carry a transparent filter window — it is there to be looked at.
Q3: How much does desiccant maintenance cost per year?
The cost is dominated by the desiccant itself and the service time, and it scales with the material rather than with the machine. A dryer running PET flake at high throughput consumes desiccant faster than one running low-volume PP, which is why the routine should be set from the material and the dew point trend rather than from a fixed calendar.
Q4: Does a dehumidifying dryer need servicing more often in a humid climate?
The closed loop is the point — the machine dries the air independently of the factory humidity, which is exactly why it exists. What a humid climate does affect is the moisture load in the incoming material, which shows up as a higher drying duty rather than as a mechanical problem. The routine stays the same.
Where this fits in the wider range: PET pelletizing line, quality and factory testing, FAQ on drying PET and PA and the 12-platform comparison.
Read next, if the same model is going on your line: Dehumidifying Dryer vs Hot Air Hopper for Plastic Granules, Dehumidifying Dryer Sizing: Hopper Volume and Airflow, PET Crystalliser and Dehumidifying Dryer: Why Both and How to Buy a Dehumidifying Dryer Without Overpaying.
About the author
Zhou Gong (周工) is the recycling machinery engineer at TENGLONG Plastic Machinery in Linyi, Shandong — a plant of 18,000 m² with 30-plus staff, 12 platforms and 820-plus installations across 46 export markets. The trick is to read dew point, moisture results and energy together once a quarter. Any two of the three can be explained away; all three together cannot. Where a figure is quoted here it has been measured or published with a date attached; nothing in this article is an estimate.
The quickest way to a real answer is to send the feed form, the contamination level and the throughput you need. A model and a price range come back within one working day, the trial on 10–20 kg of your material is free, and a result that misses the agreed output by more than 5% leaves the deposit refundable.