Technical notes · · 9 min read
How to choose a plastic granulator in seven steps
Feed form, dirt load, output, cutting method, power, footprint, service. In that order — and why getting the order wrong is the most expensive mistake in the project.
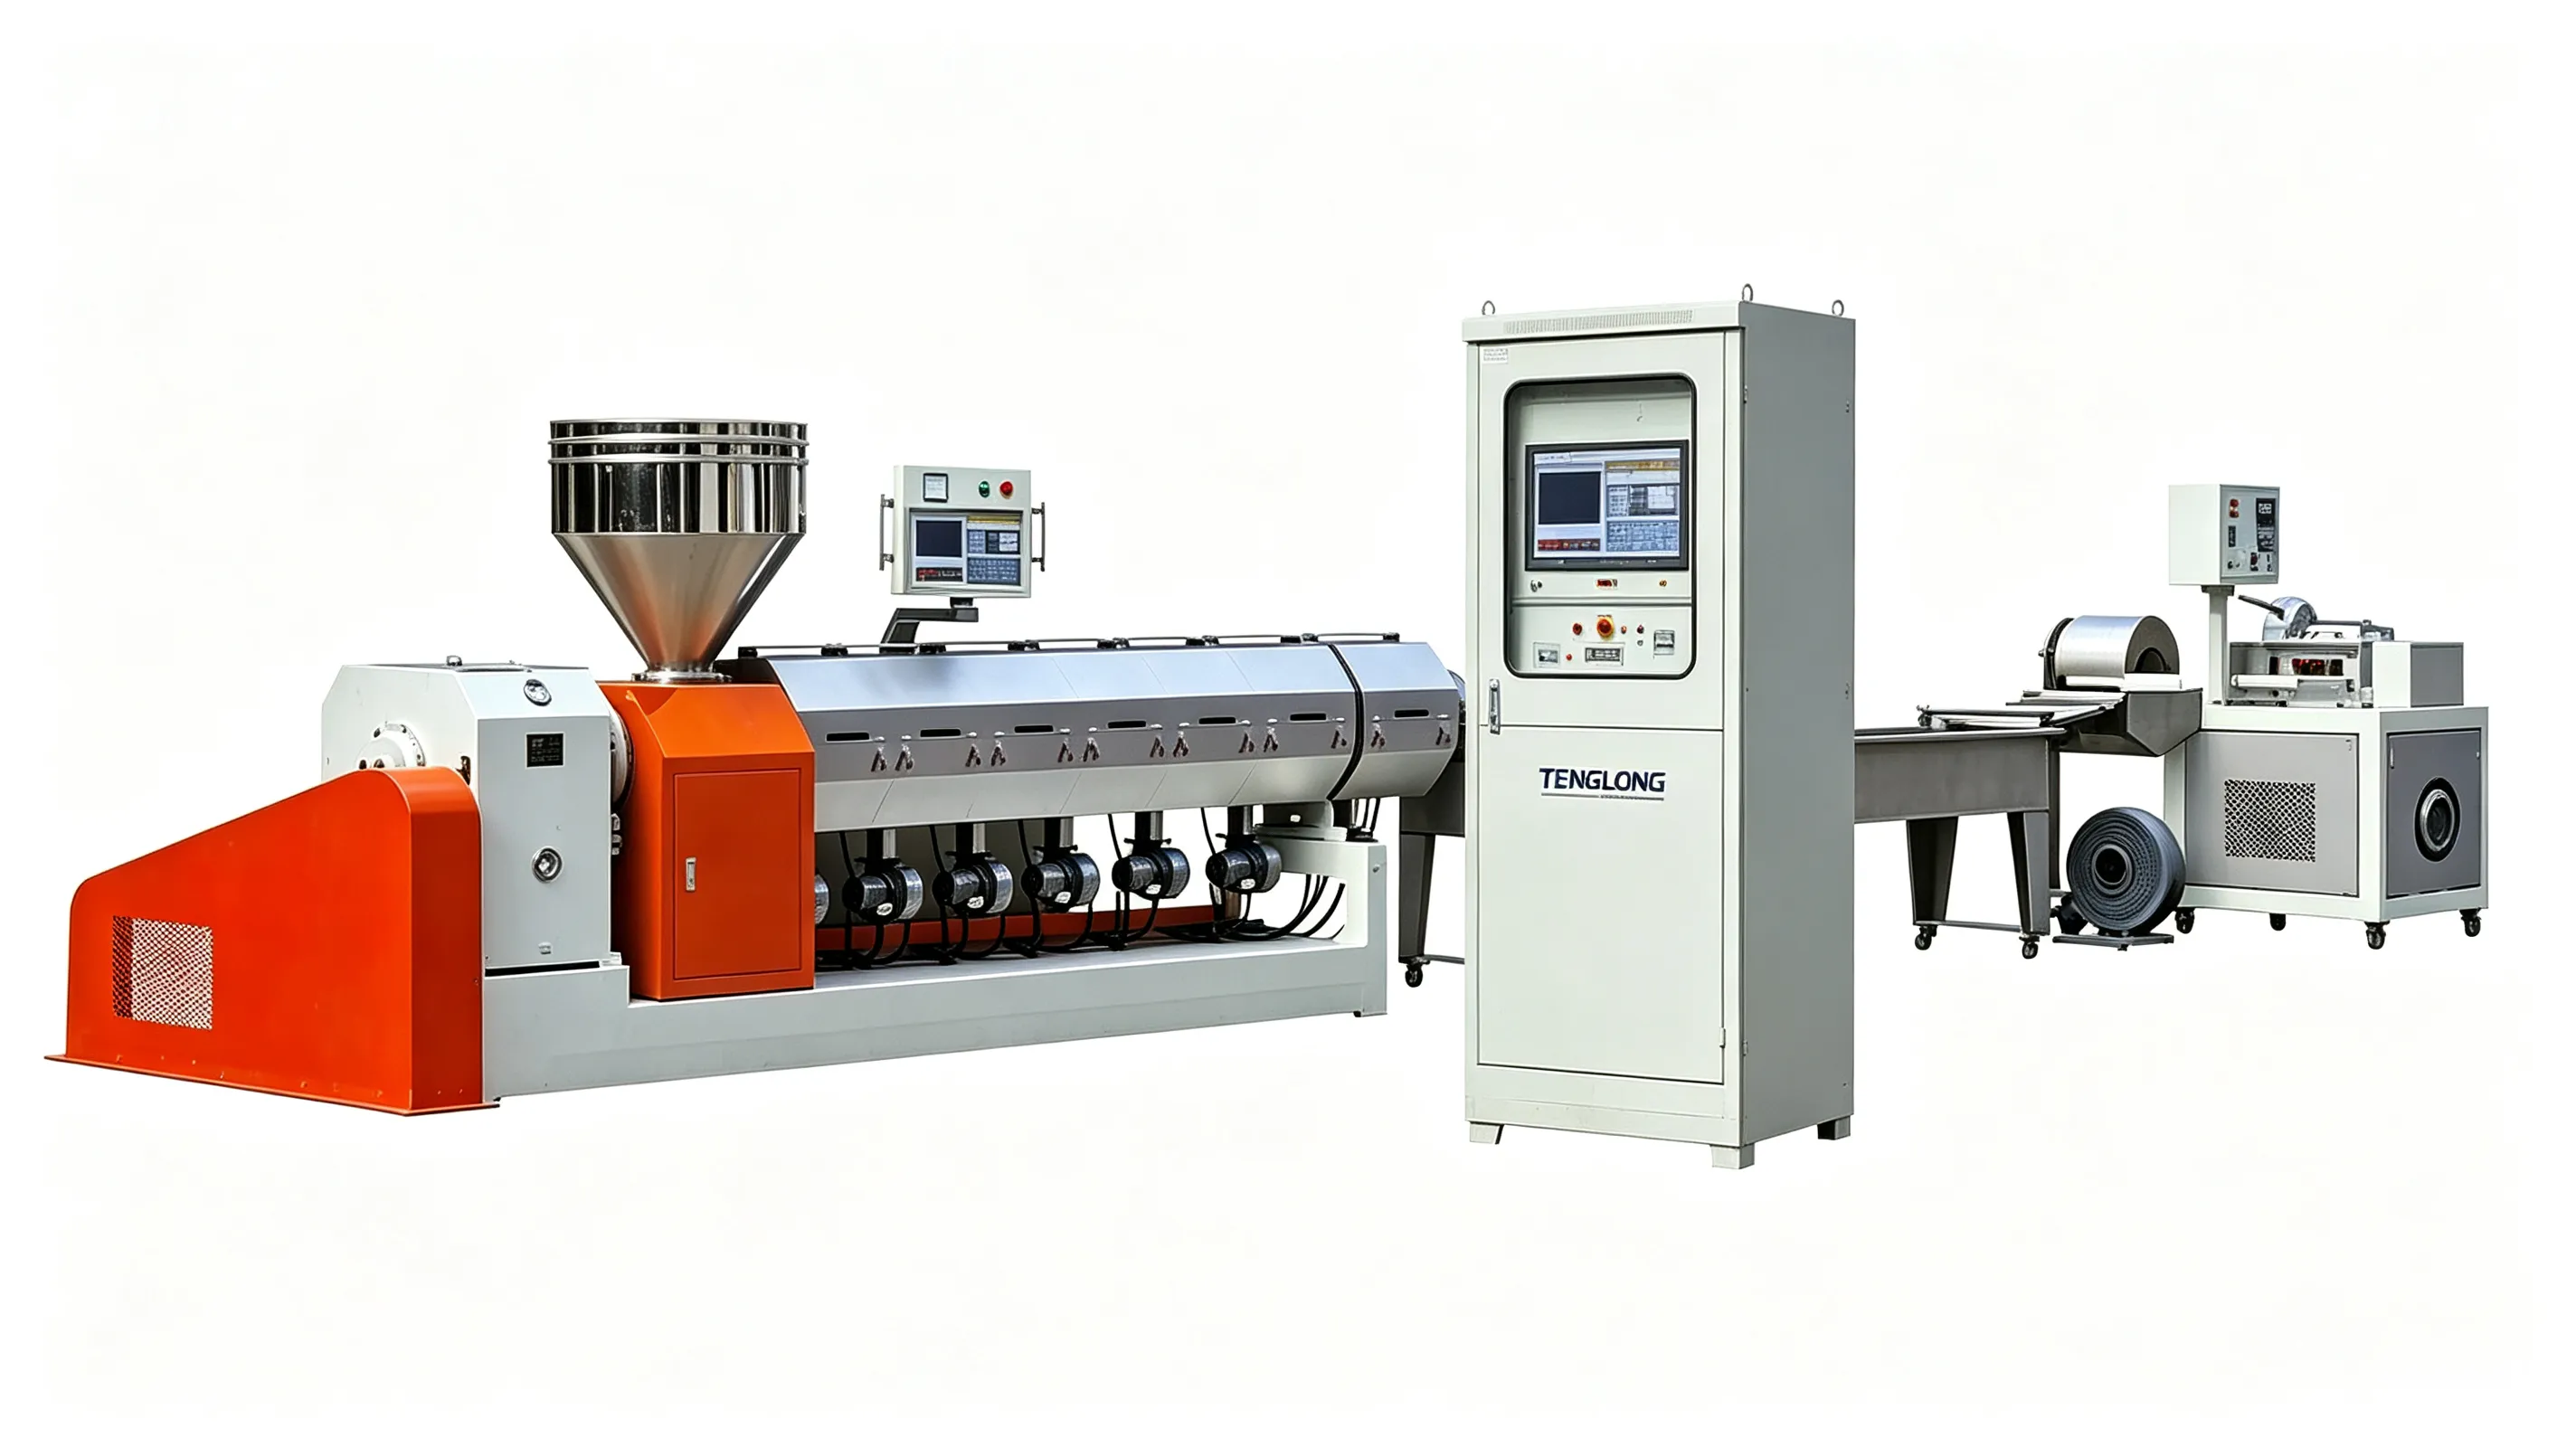
Most buyers start with output and budget. That is backwards. A 1,000 kg/h machine fed wet film will deliver 400 kg/h and blind a screen every 20 minutes, while a correctly specified 600 kg/h line will run all month. Selection is a sequence, and each step constrains the next.
Step 1: feed form
Film, flake, lump and powder behave differently in a hopper. Film at 60 kg/m³ will not fall; it needs a cutter compactor. Flake at 400 kg/m³ flows too well and starves the screw; it needs a force feeder. Lumps and purging bridge and melt unevenly; they need a two stage line or a compactor. Powder fluidises and floods the feed throat.
Step 2: dirt load and moisture
Write down two numbers before anything else: percentage of non-melting contamination, and percentage of surface moisture. Below 2% and 3%, a single screw is enough. Between 2% and 8%, two stage venting and a bigger filter area are needed. Above 8%, washing is cheaper than filtration — sand belongs in a wash tank, not in a screen pack.
Step 3: output — real, not nominal
Output scales with screw diameter to the power of about 2.3, not linearly. A 120 mm machine is roughly 1.8 times a 100 mm one, not 1.2. Ask every supplier whether the figure is bagged pellets averaged over four hours, or screw throughput at the die. The difference is 5–10%.
Step 4: cutting method
Strand cutting gives cubic pellets and visible melt, at the cost of 8–12 m of length. Water ring saves 40% of that length and handles higher output, with rounder pellets. Underwater gives the roundest, dust-free pellet and is the only option for PET and PA. Choose by the pellet your customer buys, then by floor space.
Step 5: power and heat
Installed power is not the same as running power. A 120 mm line with a 110 kW motor draws 70–90 kW in normal operation, but the transformer must be sized for the installed load plus 25%. Ask for the specific energy figure in kWh/kg and multiply by your annual tonnage: that number, not the motor plate, is your electricity bill.
Step 6: footprint, height and access
Measure three things before signing: the length from feed to bagging, the height needed to lift the screw out, and the width needed to pull the screen changer. Screw extraction is the constraint people forget — on a 150 mm machine you need 5 m of clear space behind the gearbox.
Step 7: service, not price
Ask for the name of a customer running the same model on similar material, and call them. Ask how long a spare screw takes to arrive. A machine that is 8% cheaper but needs a screw shipped from 8,000 km away is not cheaper. This is the step where most projects are won or lost, and it is the last one buyers check.
Questions buyers ask
What is the single most common selection mistake?
Buying for output instead of for feed form. A large machine on the wrong feed runs below half its rating and consumes more energy per kg than a smaller, correctly configured line.
How much should I budget for installation?
Typically 8–12% of the machine price for a single line: foundations, cabling, water, compressed air, and commissioning travel. A full washing plant runs 15–20% because of civil works and drainage.